Rubik's Cube Solver
Background
Earlier this year, I wanted to learn how to solve a 3x3 Rubik's cube. As I was watching a tutorial, I thought it would be more fun to try and create a program that could analyze images of a scrambled cube and output a step-by-step animation of how to solve it. You can see a demo of this below.
In this post, I'll dive into two particularly interesting areas of this project. First, I'll discuss my process of figuring out the cube's configuration based on the input images. Next, I'll share how I generated the animation to show a step-by-step solution for the cube.
Demo
Capturing the Cube State
In order to determine the overall state of the scrambled cube, I decided to first focus on trying to figure out the layout of a single face of the cube. My process for this is summarized as follows:
- Convert the image from BGR to HSV. This is useful in step 3 as the "H" value in HSV represents color values.
- Use OpenCV's
blurmethod to blur the image. This made the color filtering process in the next step less sensitive to reflections. - Use OpenCV's
bitwise_andandinRangemethods to filter out sections of the image that don't belong to a particular color. - Convert the image to grayscale
- Use
SimpleBlobDetectorto capture the centerpoints of each blob (group of connected pixels) - Repeat steps 2-5 for every other color in the Rubik's cube.
You can more easily visualize steps 1-5 in the following image:

Here I'm trying to find all the blue blobs in the image.
- The first image is the raw image input into the program.
- The second image is the result of applying the
blurto the previous image. - The third image is the result of steps 3 and 4 filter out all non-blue areas of the image.
- Finally, the last image is the result of applying
SimpleBlobDetectoron the third image. Each green circle is a detected blob and the center of the green circle is used to determine the center of each blob.
This same process is repeated for all other colors on the cube face to obtain the centers of all the blobs. This should result in 9 points for each cube face. To figure out the state of one cube face, I simply sorted the 9 points by their y center values and sorted each set of 3 points by their x center values.
After analyzing once face in this manner, I applied the same procedure to determine the layouts of the other five faces of the cube and used the information to put together the overall cube state.
Animating the Step-by-Step Solution
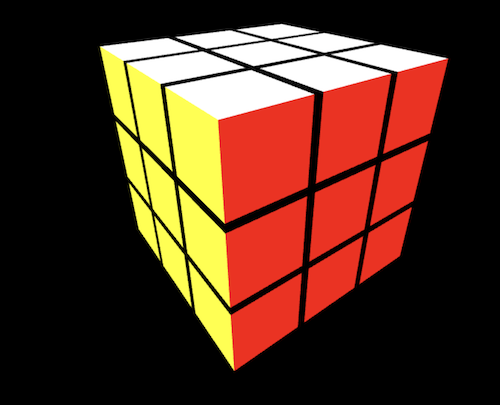
In order to create the cube animations I used the three.js library. I instantiated 27 THREE.BoxGeometry objects and arranged them in the shape of a Rubik's cube like so:

In order to rotate a cube face, I created a new abstract THREE.Object3D, and called .attach on it to add all the THREE.BoxGeometry objects that I wanted to rotate. So in the example above, if I wanted to rotate the yellow face, I'd create a new THREE.Object3D object. This is an abstract object that is invisible to the user. I'd then call .attach on all the boxes that have a yellow face to the abstract object, and rotate the abstract object itself.
Finally, in order to create a smooth rotation animation, I decided I wanted the whole animation to take 0.5 seconds. I recorded when the animation started using the timestamp passed into requestAnimationFrame. This is a core function used when setting up a three.js project. Then in each render function instance, I interpolated the rotation values for the abstract object using a formula like so:
rotationAngle = (timestamp - animationStart / 0.5) * (Math.PI / 2)
Note that Math.PI / 2 was used here since the rotation angle for THREE.Object3D objects is in radians.
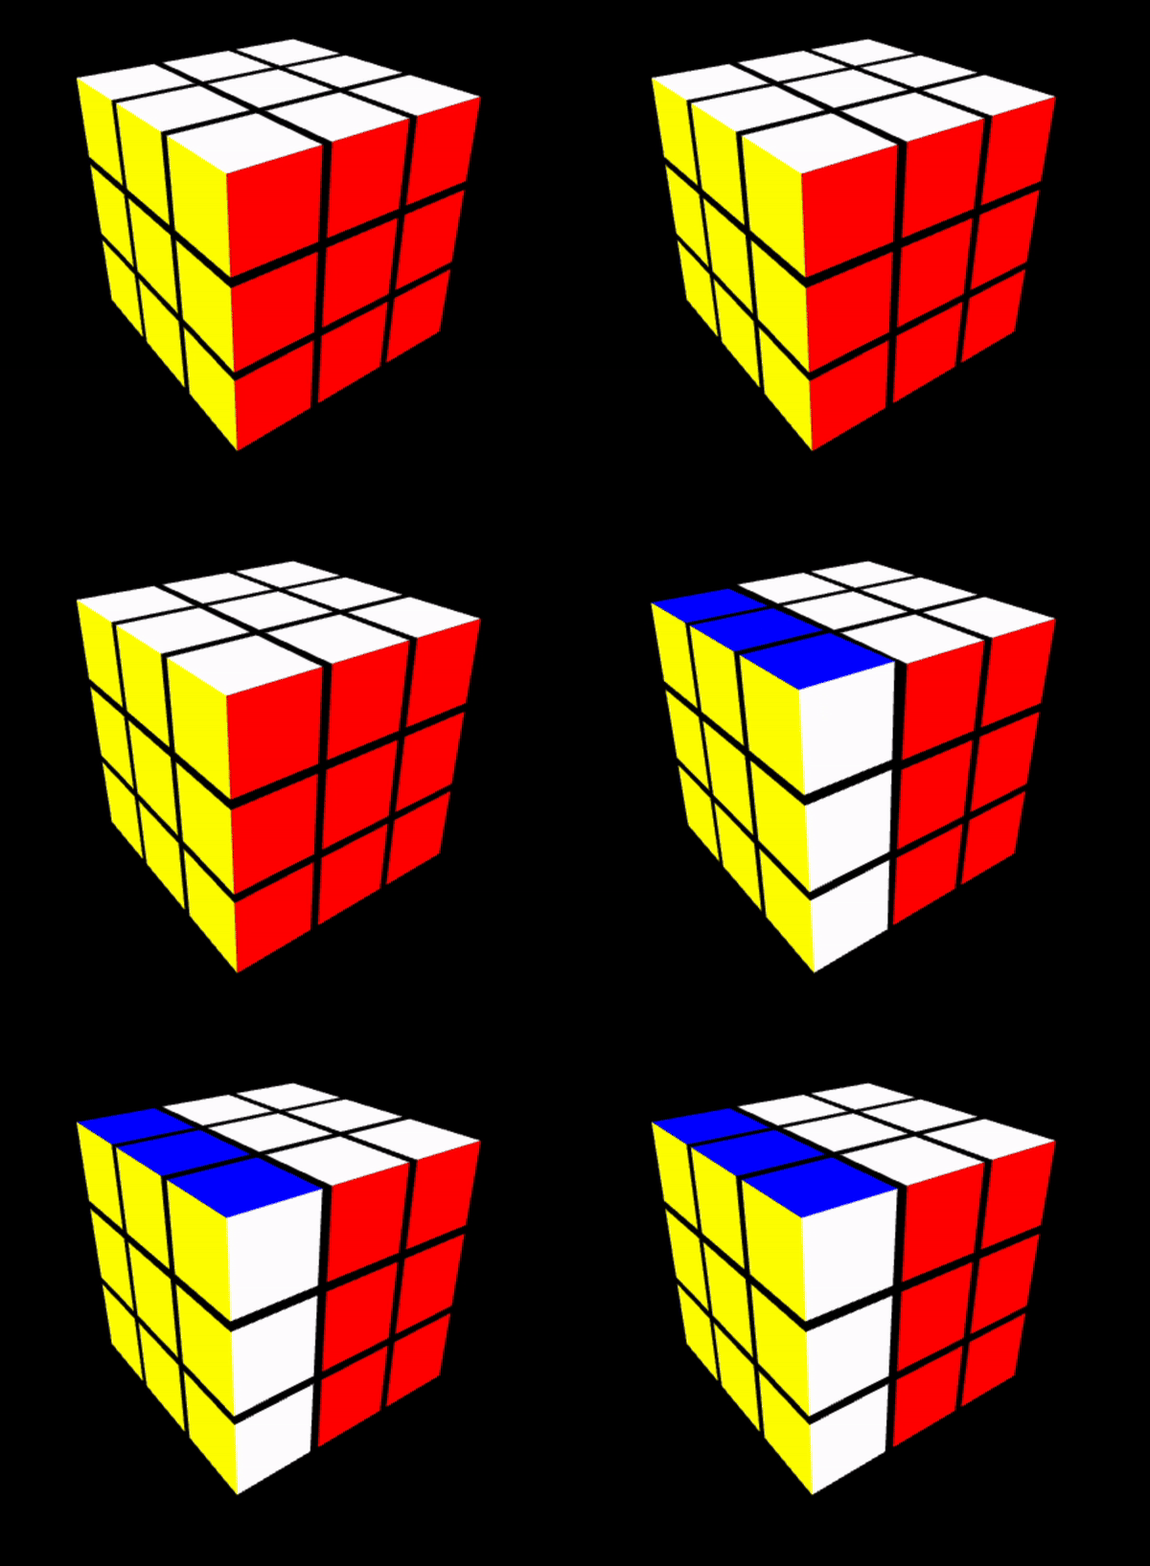
The final result looked like this:

Closing Thoughts
This project was a lot of fun and I definitely learned a lot about threejs and OpenCV. I also loved that I was able to use the code and approaches here to solve a real Rubik's Cube.
In the future, I'd love to spend more time polishing the cube design to give it a more natural, rounded corner appearance similar to a real Rubiks' Cube. I'd also like to spend more time getting the cube face detection working more robustly under different lighting conditions. As of now, I only did testing under nighttime conditions in my apartment, so I image I would need to adjust more parameters before testing under other conditions.